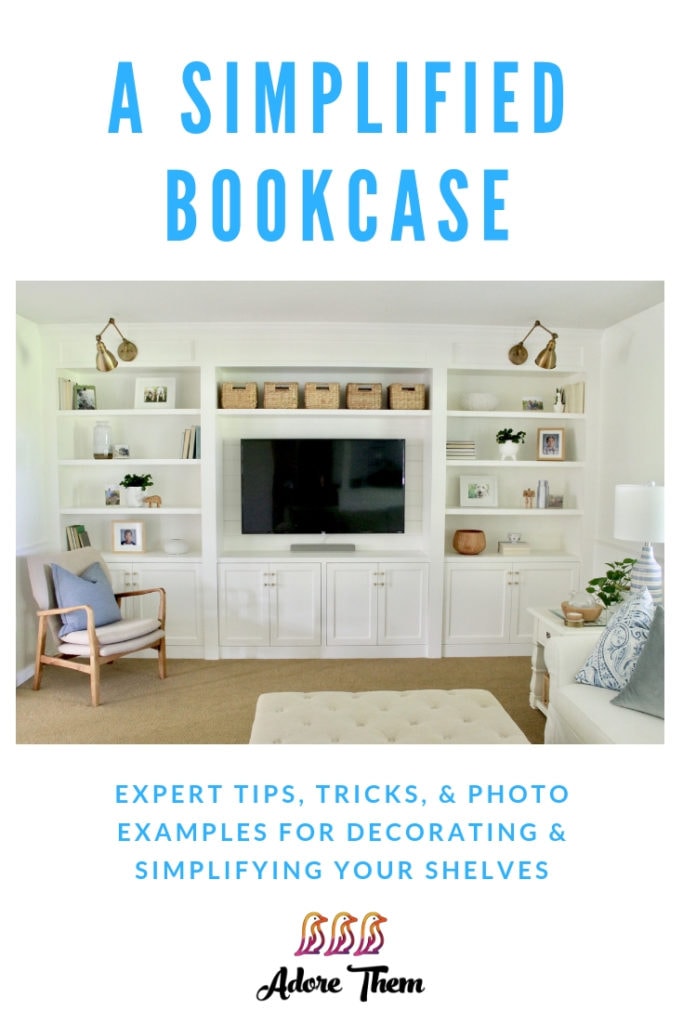
Many times our bookcases are overflowing with books we have read, want to read, or will never read. It’s now time to clear the clutter. Use photos and objects along with books, to create shelves that make you want to stop and take a closer look. Scroll down for a step-by-step guide, along with before and after photos, that will help your through creating and decorating your own simple DIY Bookcase.
The trend to style a bookcase is common in interior design. Designer shelves are often filled with beautifully curated collections that have been freshly purchased.
Now cut to real life – and your shelves are holding memories, beloved books, and trinkets that have been hand made by your children. However, bookcases can pull double duty, hold your books and look stylish at the same time. The best way to achieve this look is to simplify.
This article is written by Pamela Rineer
For more on this topic, check out the full Simplify collection
Family Room DIY Bookcase
Before:
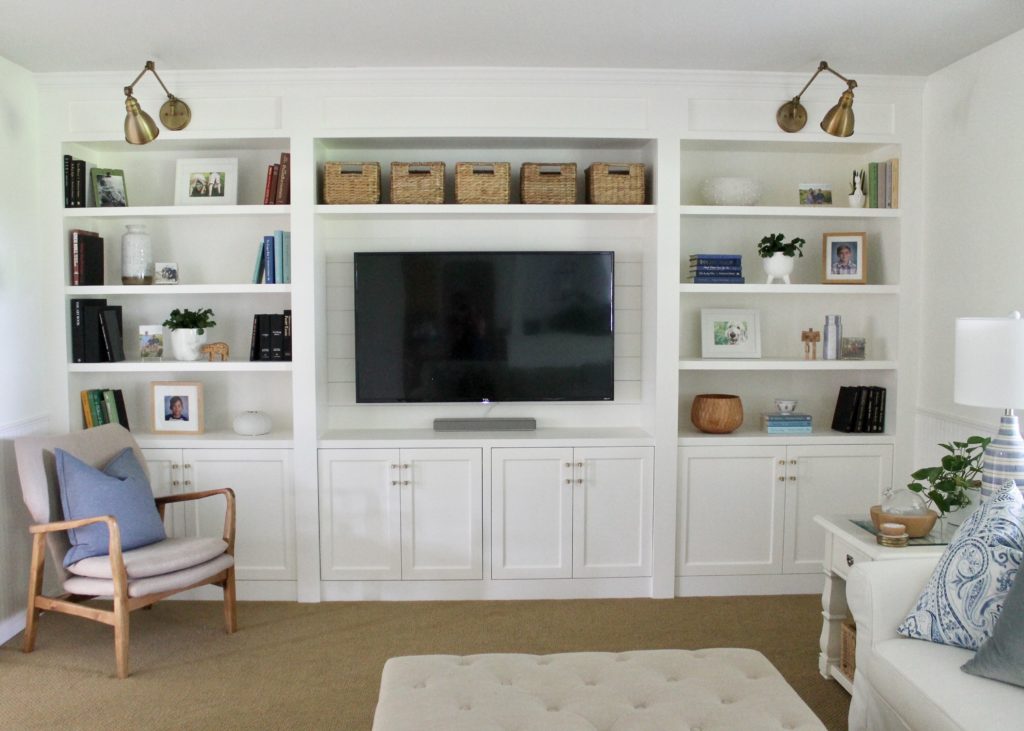
This shelving unit of a family room entertainment center has already received a good dose of simplifying. It’s not wall to wall with books. The baskets on the top shelf are the same, and books are gathered by color to help each group read as one. There are objects of similar colors and shapes on each shelf. Items have been grouped by twos or threes. Paperback books have been removed, and all the hardback book covers are taken off to show their pretty spines. However, the left side feels very heavy, the chunks of black books are eye catching – and not in a good way. It’s overall distracting, and nothing of interest is really notable.
After Simplifying the Family Room Bookcase:
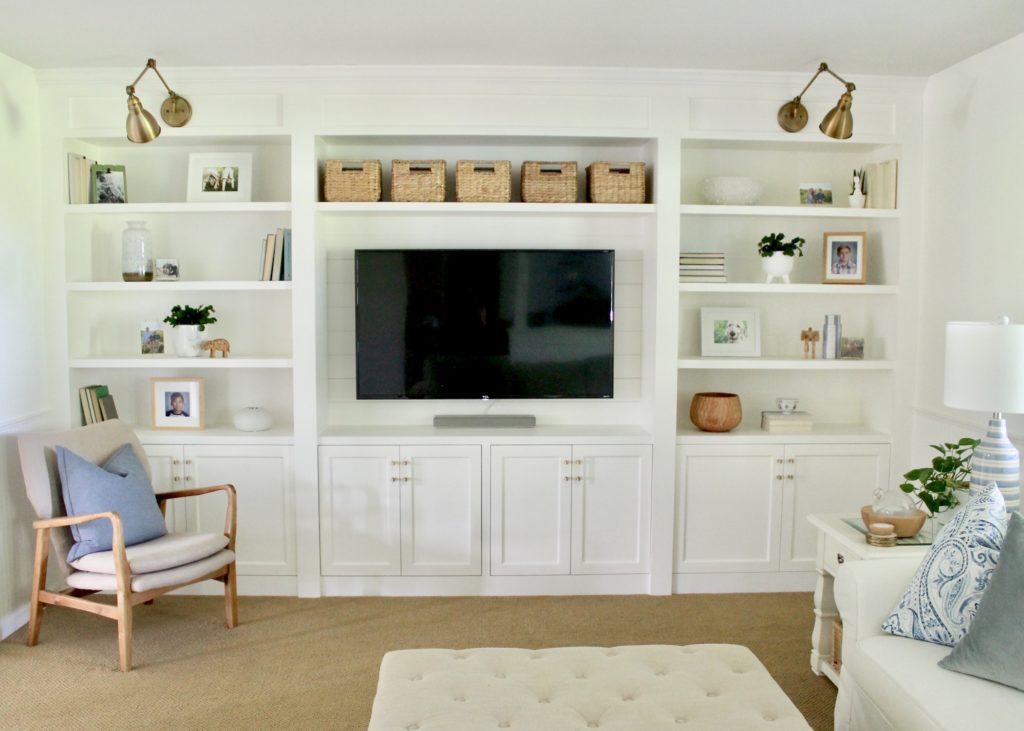
By simplifying the shelves, the room instantly looks and feels lighter. Removing books that have been read, won’t be re-read, or will never be read, is the first step. Secondly, and a bit controversial for book lovers, turn books around so that the spines are rear facing. Just this simple act is like a breath of fresh air. No longer feel daunted by all the titles you haven’t read yet. Turn the one book spine forward that is next on your list. Eyes can now move around the room and land on special moments, photos, art, plants, and treasures; all of which should be included on your bookcase.
The act of simplifying child’s book shelves can be achieved in much the same way. Talking with children about what they see and feel when they look at their shelves is important. However, discussing what they want to keep, what they have outgrown, and what they can sell or donate, can be difficult. Encourage the conversation by explaining that simplifying will allow more space to admire what they love most.
Bedroom DIY Bookshelves
Before:
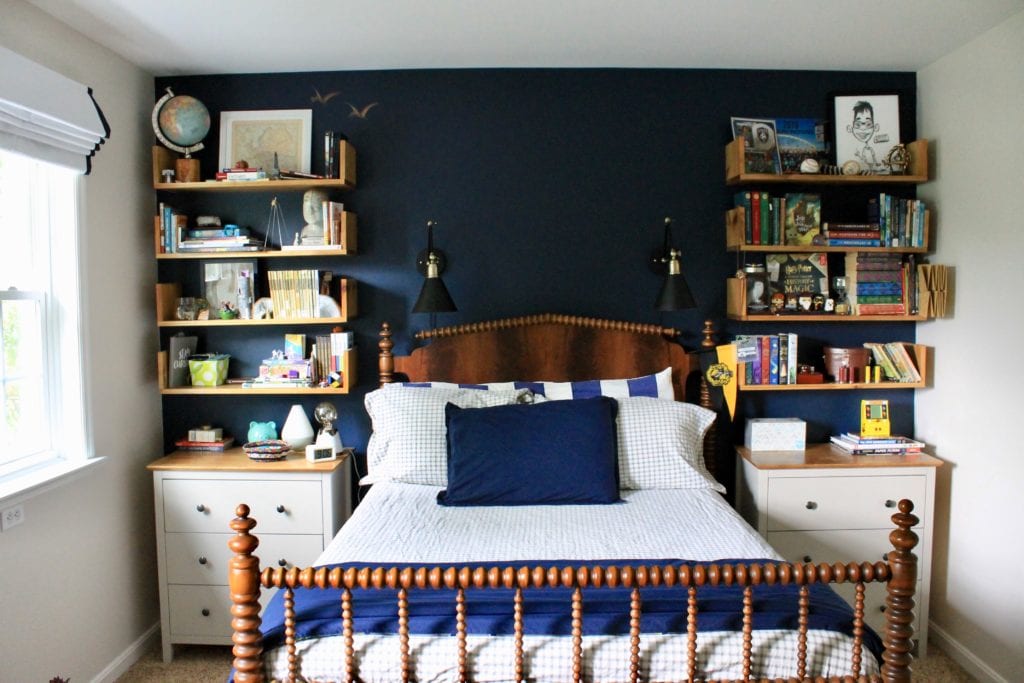
This room is actually tidy. However, because the shelves are overflowing, it reads as a very big mess. Objects look like they are about to fall off the shelves, or may fall off if one item is removed. But take a look at this finished DIY Bookcase below!
After Simplifying the Bedroom Bookshelves:
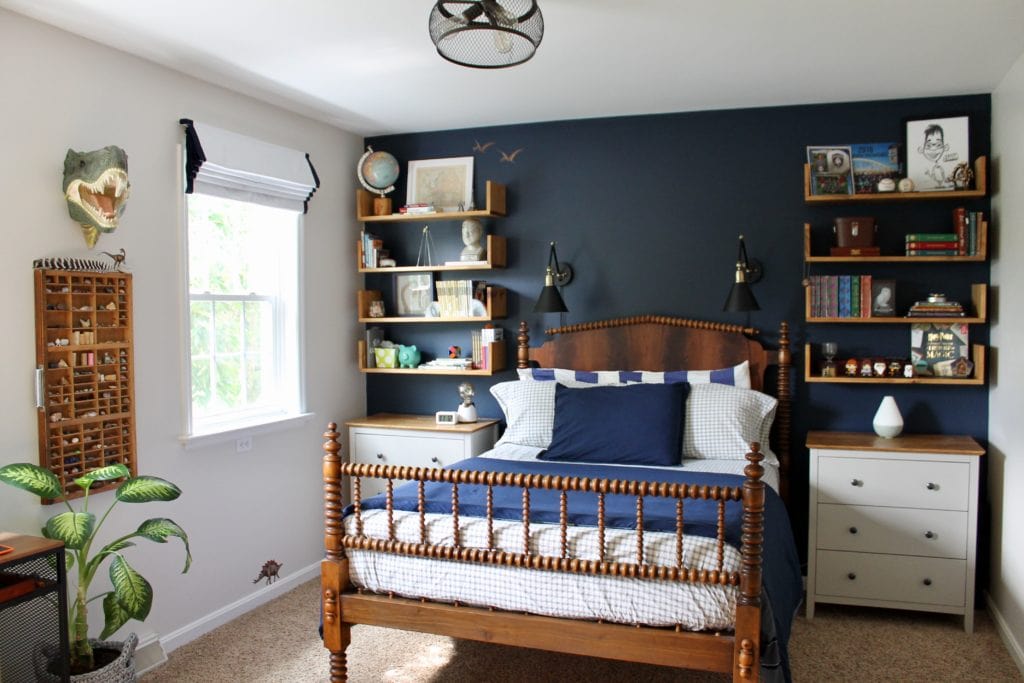
Looking at the after photo the whole room feels clean and put together. Some of the shelves were never touched, yet approximately 50% of the items were removed, or placed on another shelf. Precious items were kept and displayed. Books and objects were dispersed to help the eye flow around the whole room. Now the shelves feel full of possibilities and encourage looking closer.
Now You Try
Take a moment and look at the shelves in your home. How do they make you feel? Are you overwhelmed? Take a breath and remove everything. Start fresh and begin by placing those items that you hold dearest. Move objects around two or three times to find the best landing spot. Add books, photos, art, and plants. Group items in threes by similar color and shape. Now stop and take a photo, how does it look? Repeat the process until you have a space you love.
For more on this topic, check out the full Simplify collection
 Featured Contributor: Pamela Rineer
Pamela Rineer lives in Lititz, PA with her husband, two boys, and very large goldendoodle. With a love of real estate, design, and money management she began renovating their homes on a budget. Now, settling into their fifth house, she shares simple DIY’s for all things home.
-
- Instagram: @pamelarineerinteriors
- Facebook: @pamelarineerinteriors
- Pinterest: @pamelarineerinteriors
- Website: pamelarineerinteriors.weebly.com