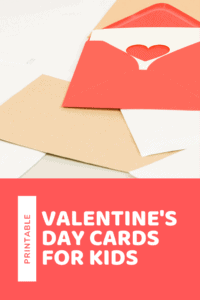
 Grab some card stock from the store and enjoy these free printable Valentine’s Day Cards for kids. Perfect for children to pass out to their friends!
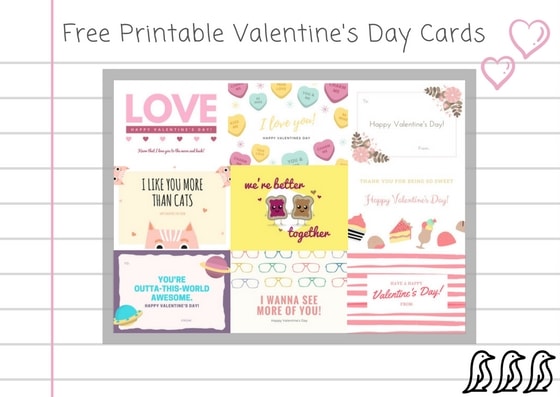
Set your print settings to print multiple cards per page, and then cut them out easily.
{Check out Teaching Kids About Friendship and What Makes a Good Friend? for fun kid-friendly lessons on friendship}
Free printable Valentine’s Day cards for kids created by Karissa Tunis
For more on this topic, check out the full Be My Valentine collection

Co-Owner: Karissa Tunis
Karissa Tunis is the co-owner of both the parenting website Adore Them and the family event company Milestone Family Expos. Through these ventures she is able to share inspiring, heartfelt insight with large audiences within local communities and across the country! Her knack for all-things-organization allows her to balance content creation, brand partnerships, and event planning without losing sight of what she wants for her own family. Despite her busy schedule, Karissa also makes it a priority to spend quality time with her husband and three children. You will often find her volunteering at her children’s schools, cheering them on from the soccer sidelines, or enjoying the great sites of Charleston, SC with her family.
Contact: Karissa@AdoreThem.com
For more on this topic, check out the full Be My Valentine collection

 When I came across the saying below after scrolling through Instagram, I thought – this is so true! After 13 years of marriage I had the greatest gift of being able to spend my life with my best friend, but we weren’t spending as much time together as we had hoped. Reality was a little less exciting that what he had imagined marriage to look like. He would often be playing with the kids as I was making dinner. I’d be helping with homework as he would be fixing a leaky faucet. At the end of the day we’d get ready for bed and realize that we hadn’t really spent any quality time together. This was totally different than when we were dating! But then I thought, why can’t you date your spouse?
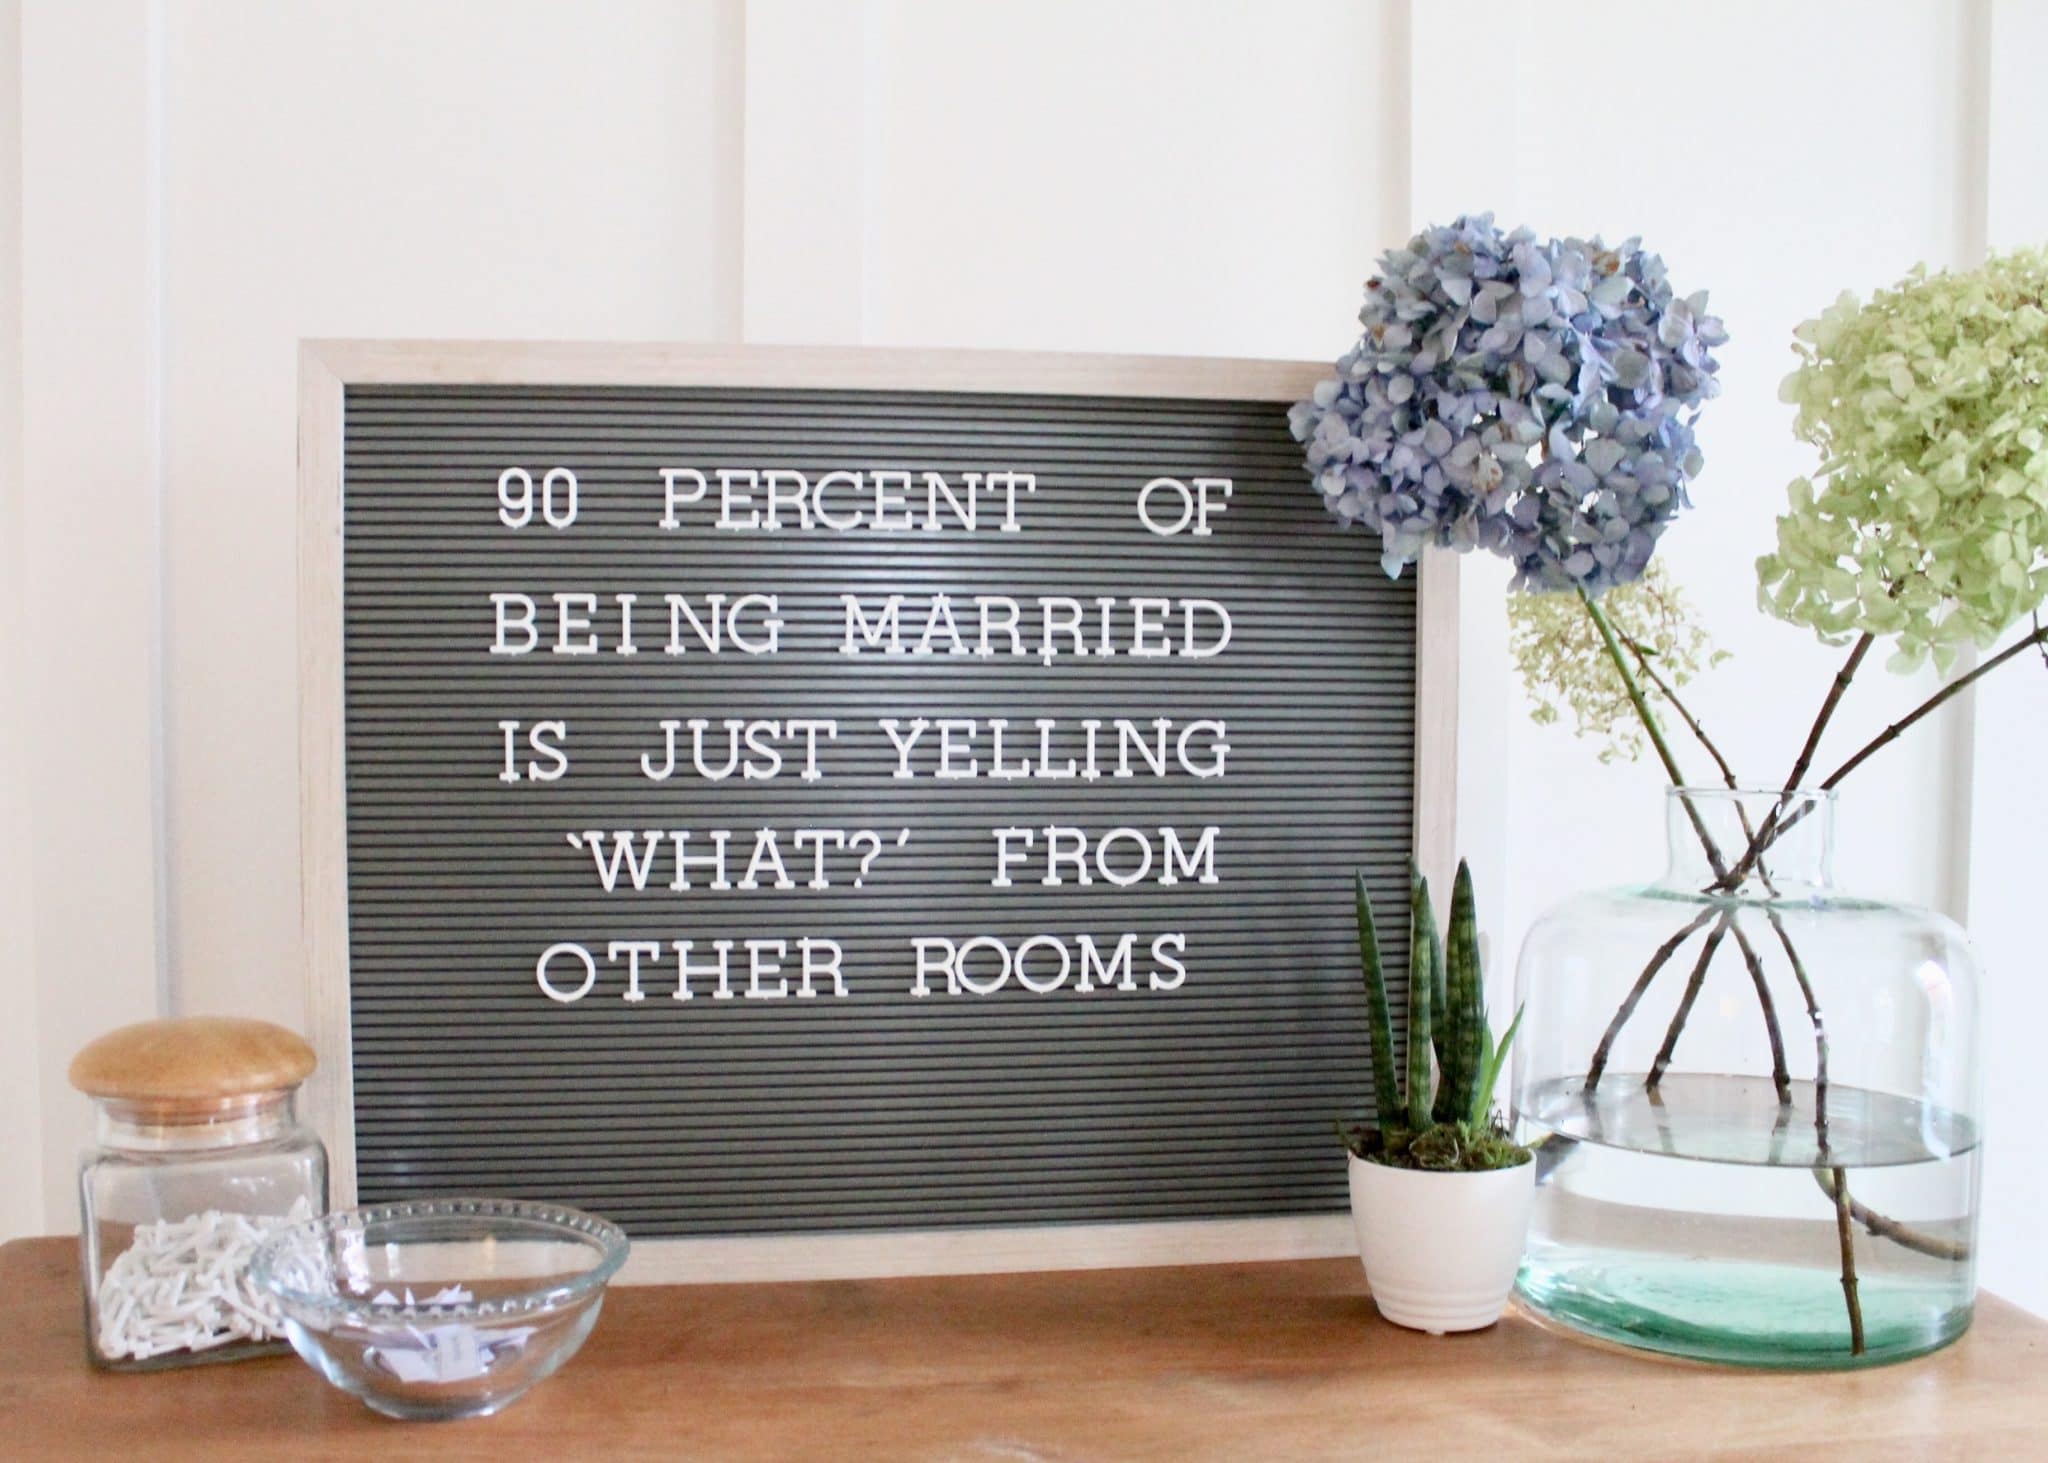
 Featured Contributor: Pamela Rineer


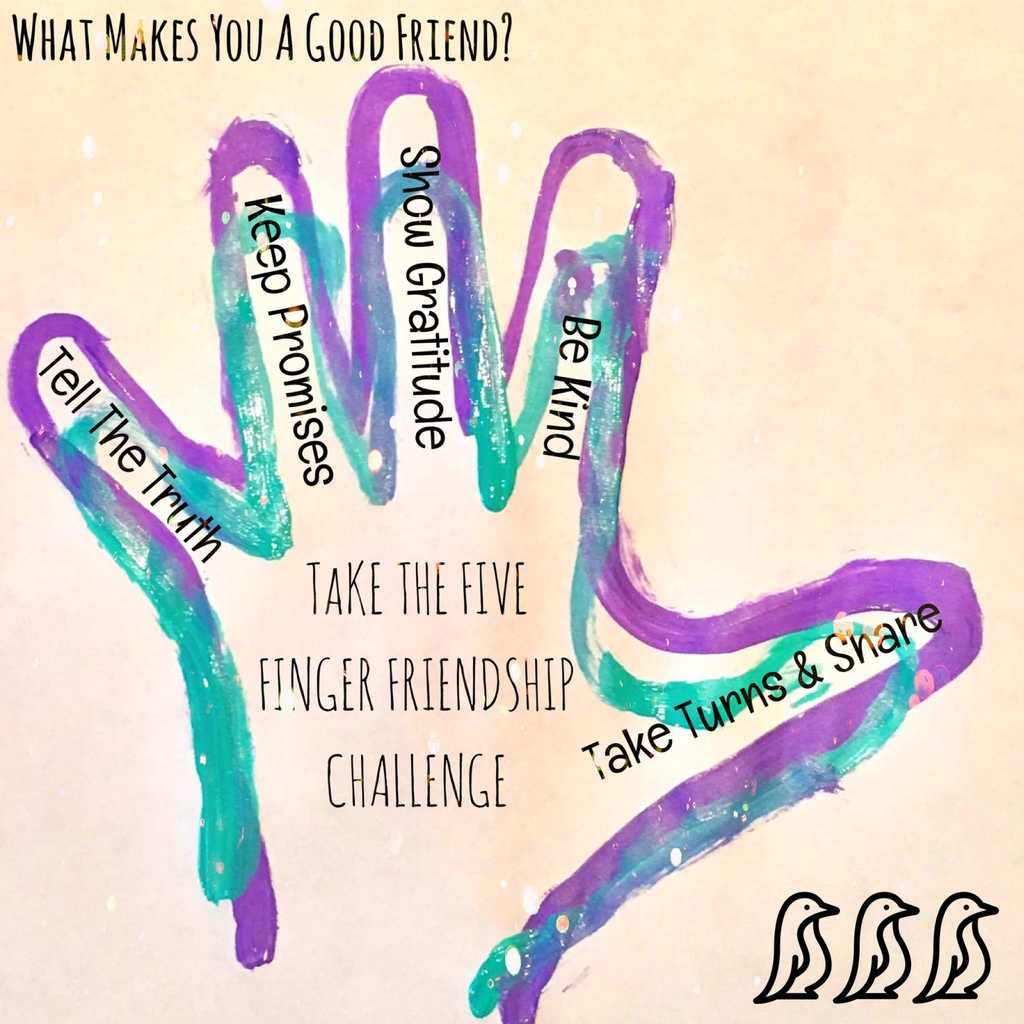
 What makes a good friend? Try this fun, simple, kid-friendly activity to teach your children the 5 finger friendship challenge. Remind them what it means to be a good friend, how to choose good friends, and why it is important to get along with everyone.